One of the ways to make a house more energy efficient is proper air sealing. As opposed to insulation, which slows the movement of heat through walls and other building materials, air sealing prevents heat loss through infiltration, the unplanned movement of air through the building envelope. With proper air sealing techniques, you can keep the conditioned (usually warm) air where you want it – in the house.
I planned on my house reaching a measured air tightness level of 1 ACH50 (about half the Passive House standard, but still 7 to 8 times tighter than normal construction). To reach this goal, I had to design an “air barrier” into the plan from the beginning. First I started with a simple shape. This has the primary benefit of minimizing surface area of the conditioned space relative to the volume of the house. But it also results in a more simple and easy to detail air barrier. Because I was using a slab foundation, that served as a very effective air barrier for the floor of the house.
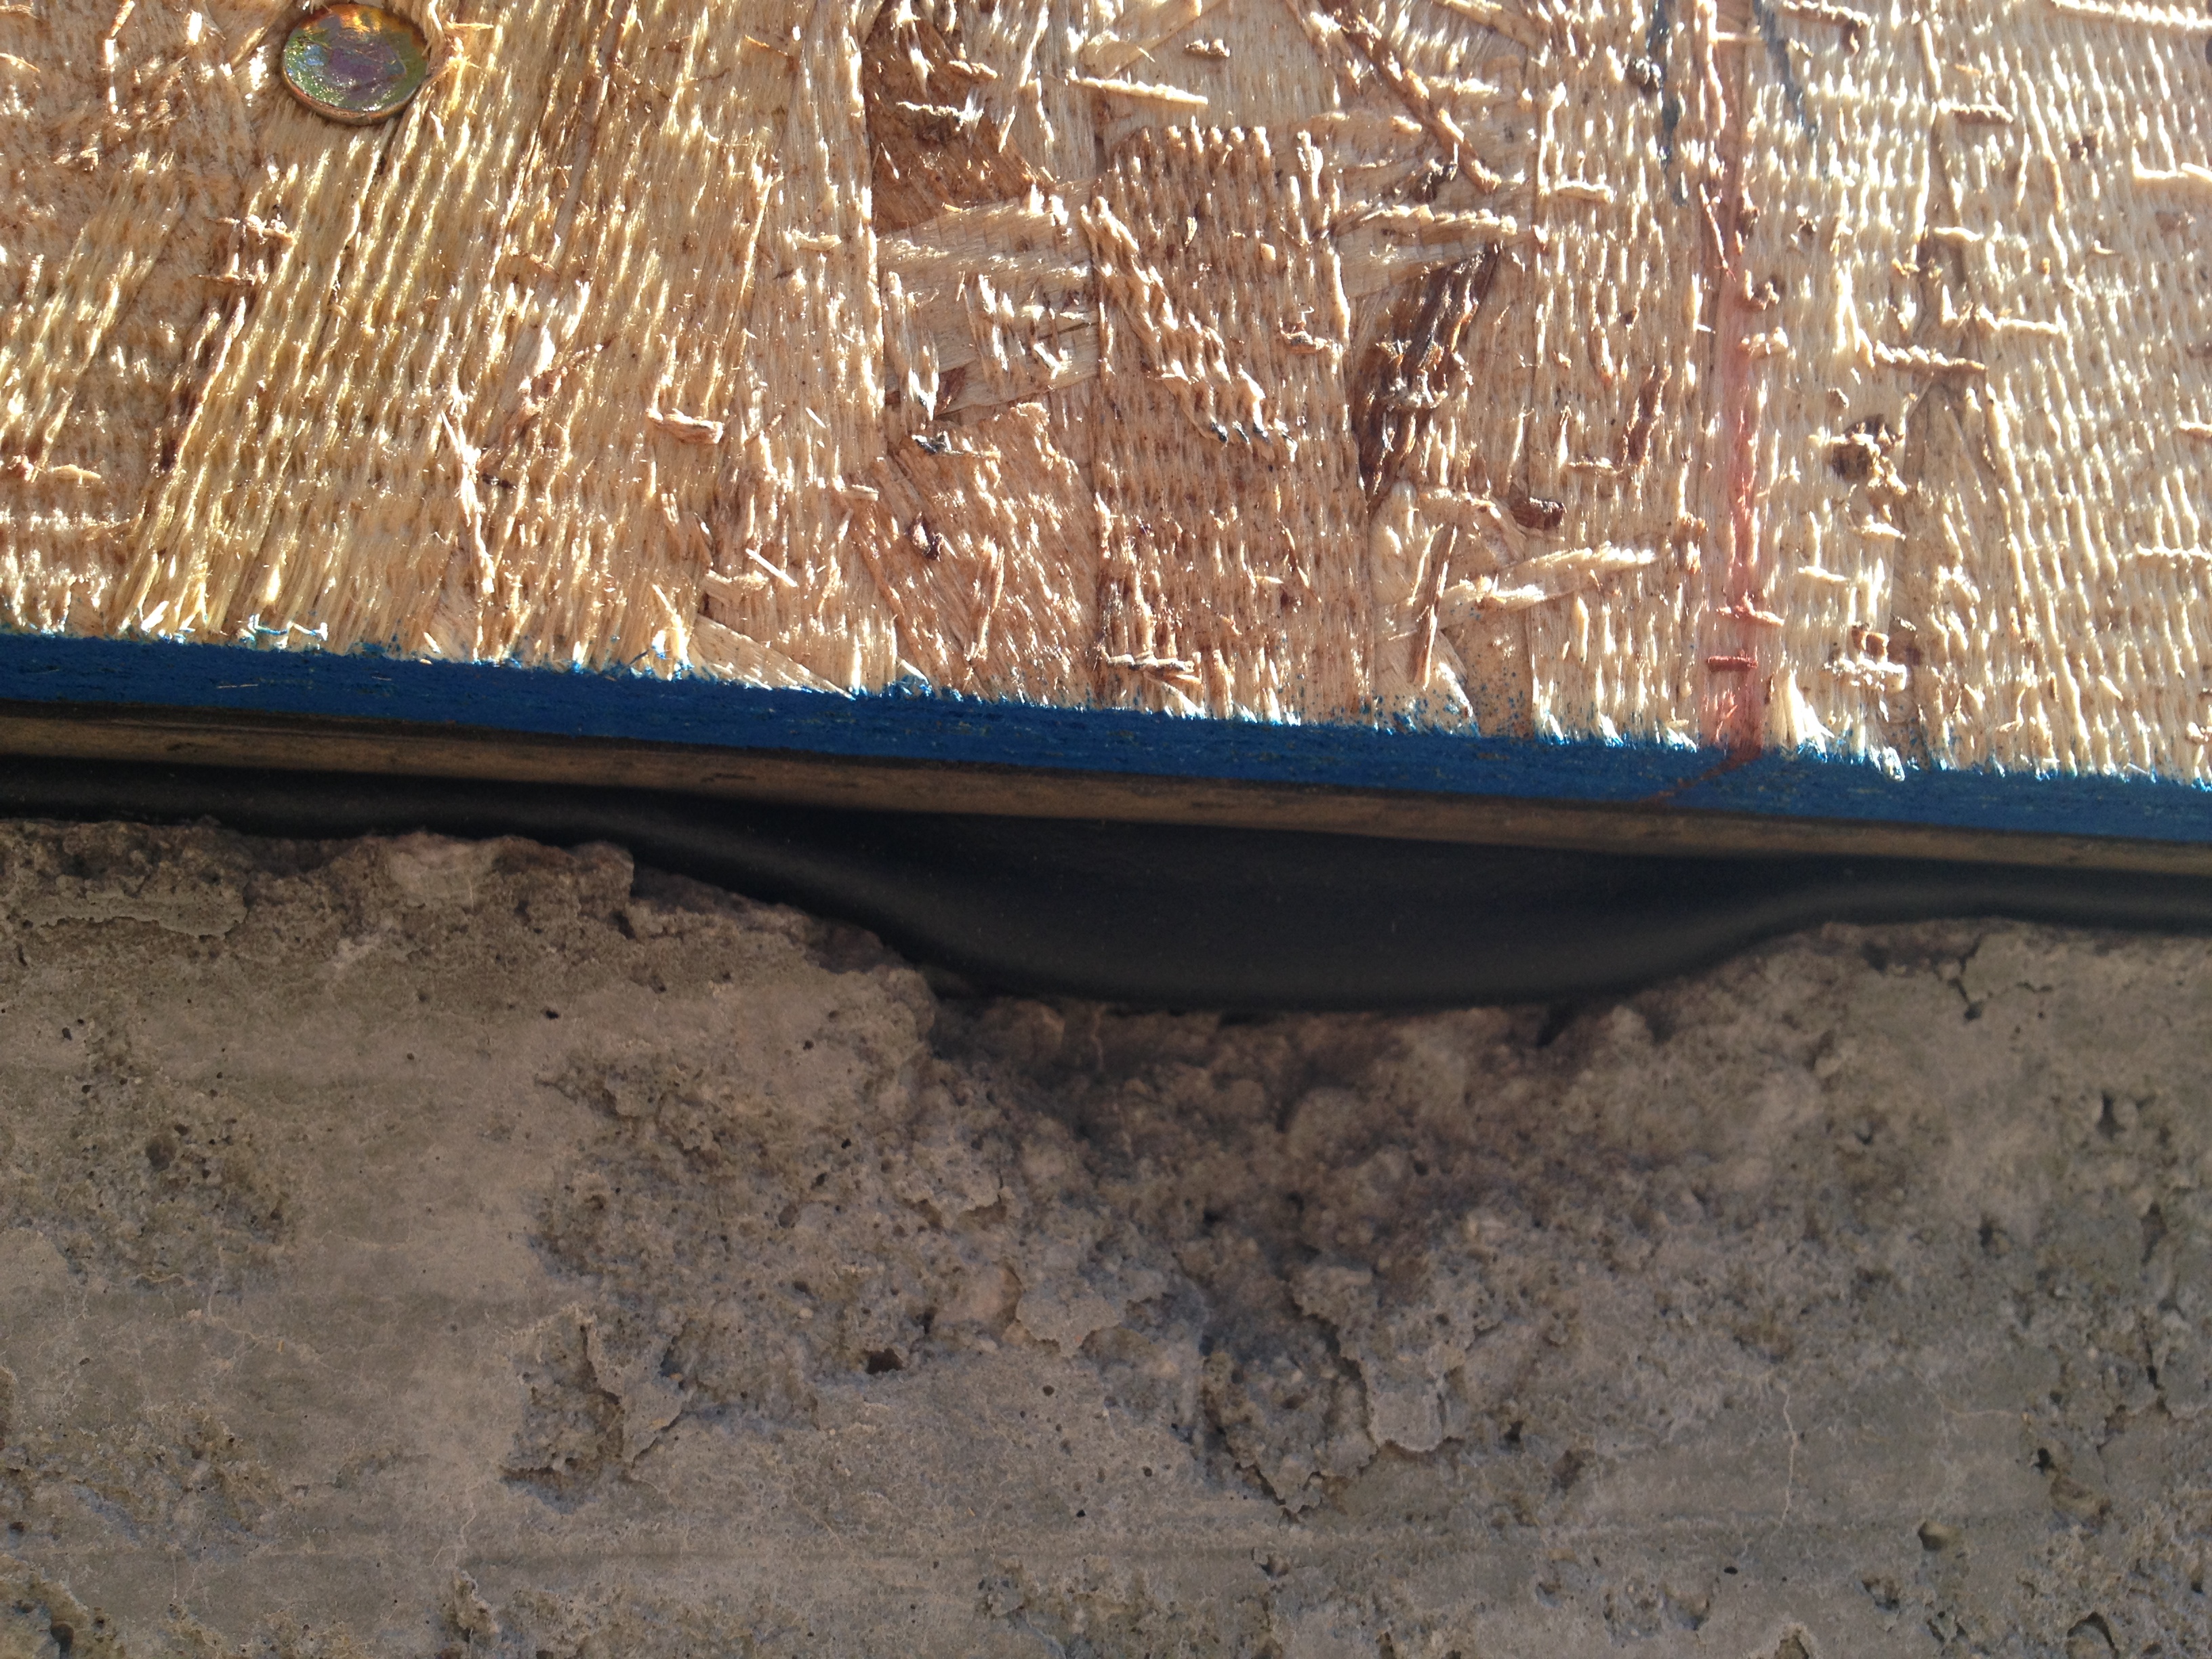
I used gaskets from Conservation Technology to seal the sill plates, which are where the framing meets the foundation. From there, the air barrier resided in the outer portion of the double stud wall, and was accomplished with open cell spray foam in the stud bays and with acoustic sealant between framing members. The windows were sealed with spray foam and backer rod.
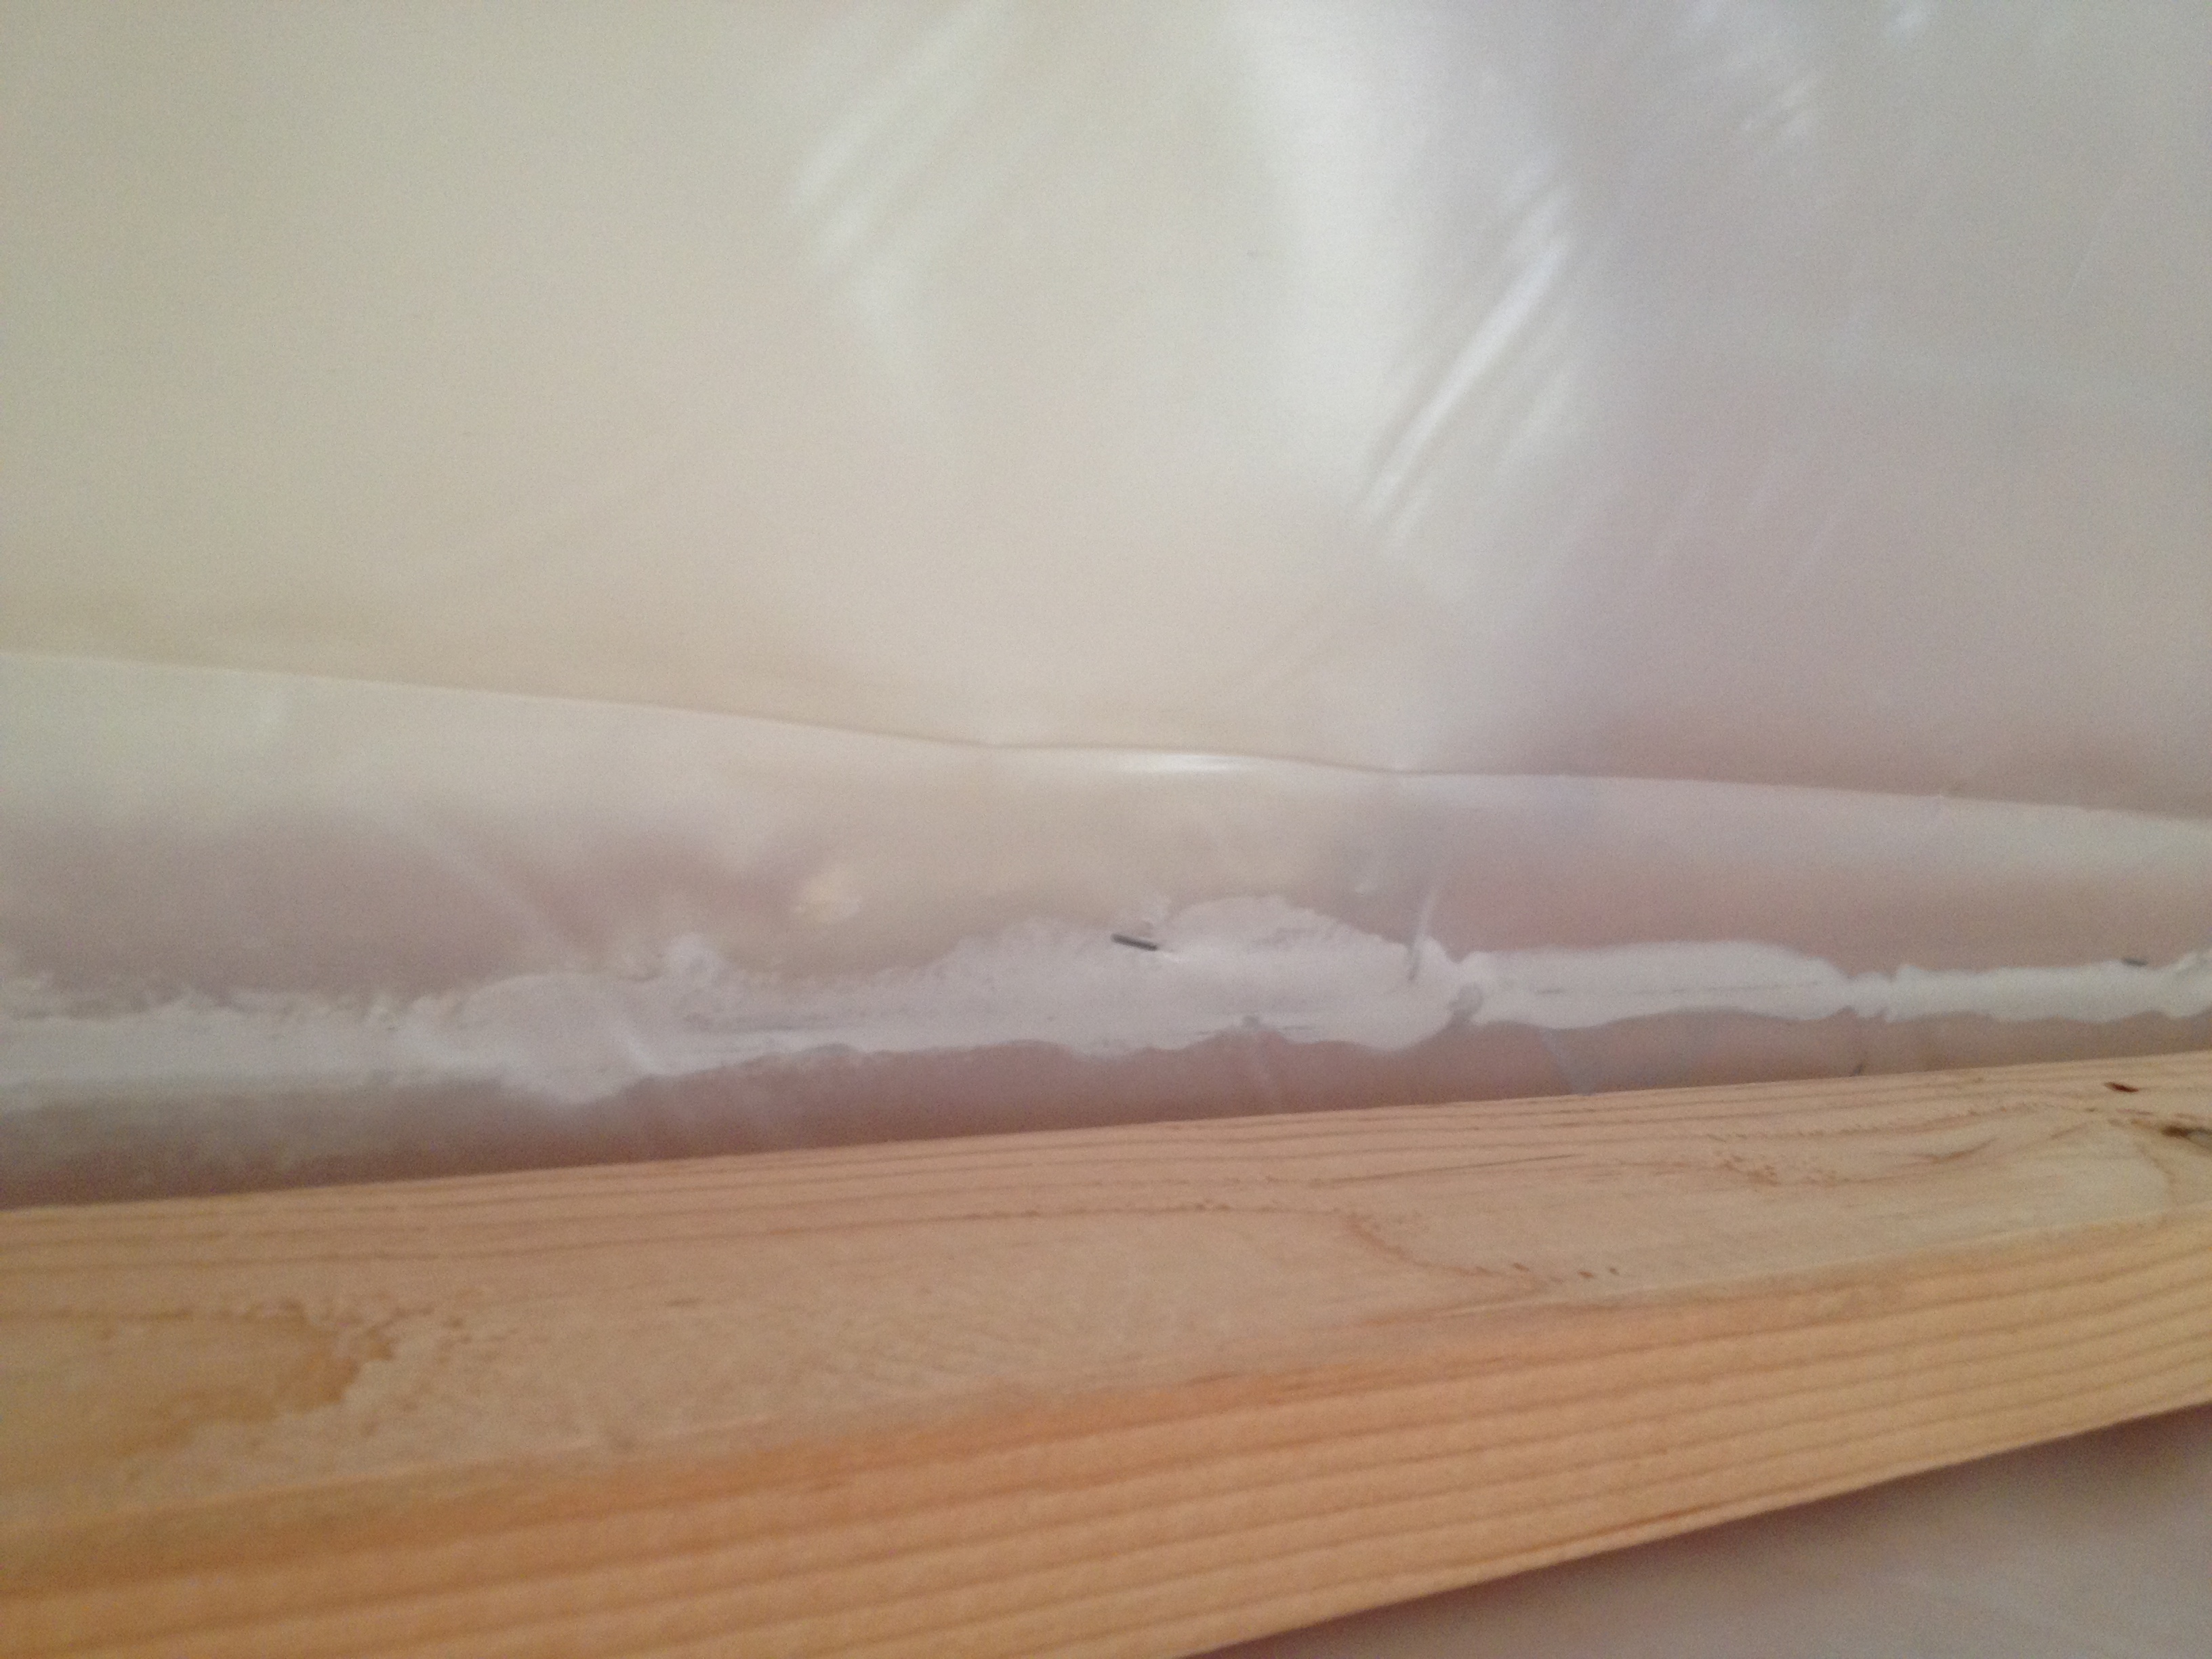
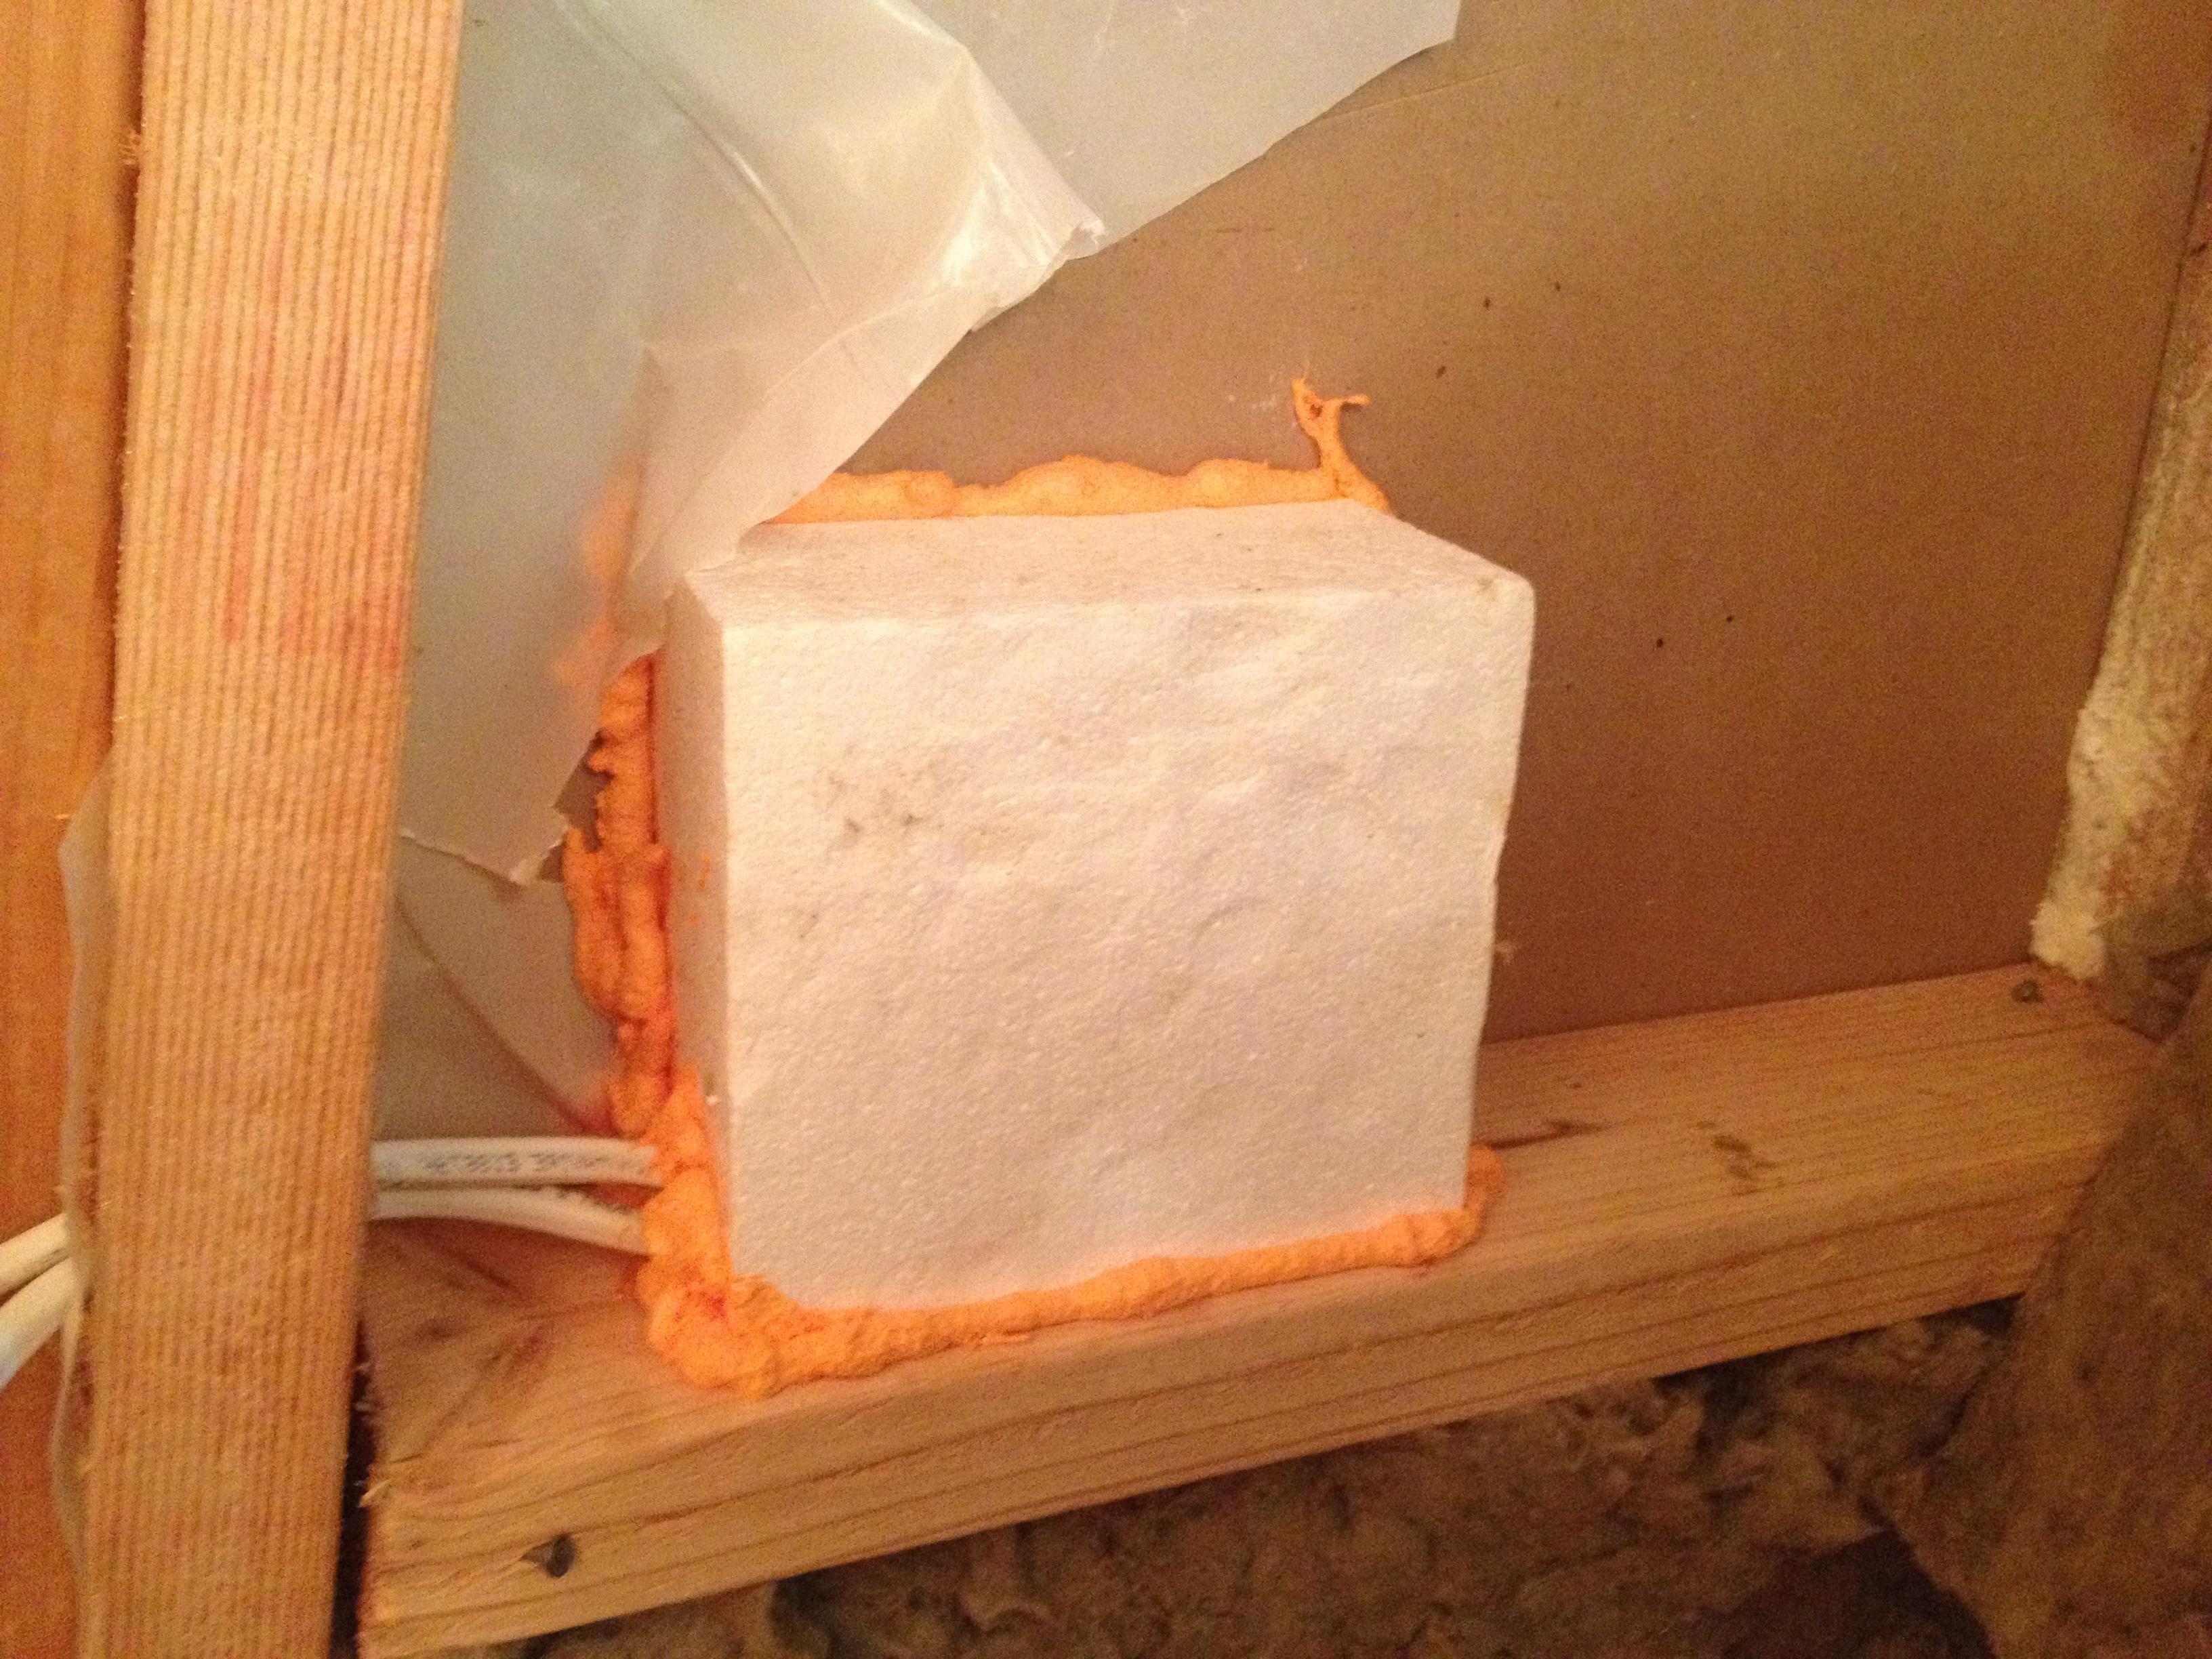
The air barrier for the ceiling was a (mostly) continuous layer of 6 mil polyethelene sheeting applied to the ceiling (above the drywall). It was joined to the top plates using acoustic sealant, as the sheeting extended about 1′ down the walls. The ceiling air barrier was penetrated several times, even though I sought to minimize this by not using can lights, and also by using side sprayer fire sprinkler nozzles wherever possible. I sealed ceiling electric boxes with special EPS covers, spray foamed into place.
Then the attic above the ceiling was covered in 18” of blown cellulose insulation which is a decent air barrier on its own. Since I don’t have a need to access the attic except for emergency wiring or fire sprinkler access, I created a custom “attic hatch.” I attached 16″ of EPS to the back of a drywall panel, which friction fits into the opening (kind of like like a cork in a bottle) and rests on gaskets, and is finally sealed with a layer of paint.
Mechanical Ventilation
Because this house was to be fairly airtight, it required some kind of mechanical ventilation to guarantee enough fresh air, and meet the ASHRAE 62.2 ventilation standard. After looking in to an HRV / ERV, I decided to go with an inline exhaust fan that would constantly exhaust air from the bathrooms at low volume, and automatically switch to high volume based on motion and humidity sensors. The make up air would just come through the existing cracks in the wall, but the overall slight negative pressure in the house would keep any additional air from leaking out (infiltration). The fan I used is available from Conservation Technologies.