I originally planned on using an “Optimal Value Engineering” framing layout, in which walls would be framed 24” on center rather than the standard 16”, with single top plates, etc. But I was not able to get my engineer comfortable with the idea, and was too far along in the process to start over and find another. However, I did order my windows in custom widths that fit the 16” on center framing, which didn’t have much of a practical effect on this project but was a successful experiment. This was one of my biggest regrets.
The exterior wall sections were of double stud construction – that is, they were composed of two parallel 2×4 walls, with a 2″ gap between them. This strategy allows for additional insulation, and a thermal break between framing members. The floor was supported by 16″ deep engineered trusses. The roof was composed of engineered scissor trusses, with a 4-12 top chord and a 2-12 bottom chord, separated by a 24″ raised “energy” heel to allow for a deep layer of blown cellulose insulation in the attic.
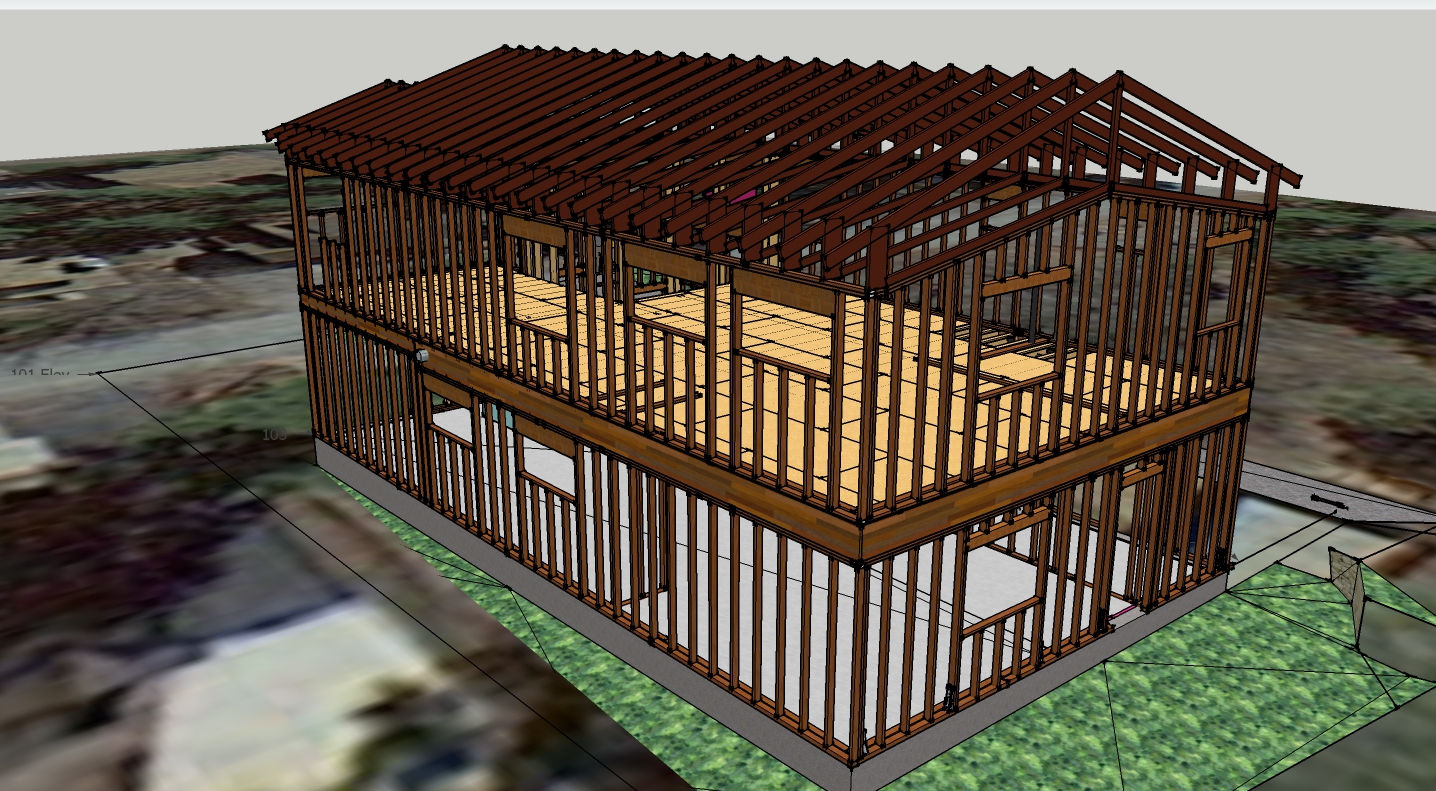
Virtual House
Parallel to the framing process, I decided to build a “virtual house” in a CAD program called Sketchup. Rather than just “drawing” the elevations and floor plans, I created 3D objects for framing members, and then assembled them to match the progress at the job site. This helped me to produce more or less exact lumber orders. It also helped me determine paths for plumbing and vent runs early in the process, to make sure everything would fit.
Lumber
Coming from academia and studying for my LEED certification, I had assumed finding FSC lumber (Forrest Stewardship Council certified) would be a no-brainer. However, I was shocked to discover nobody at the only lumberyard in town had even heard of this certification. I did find suppliers down the mountain, but the lead times were not workable for me and delivery charges were prohibitive. This was a bitter pill to swallow. So except for the OSB and plywood, my house uses non FSC-certified lumber.