My initial concept for the foundation was a frost wall, with a concrete slab resting on a continuous layer of foam insulation. Not only is a slab air tight, especially compared to a subfloor over a crawlspace, but it also serves as a thermal mass. If that mass is thermally isolated from the ground, it can help regulate indoor temperatures and even supply heating to the house when paired with appropriately shaded south facing windows.
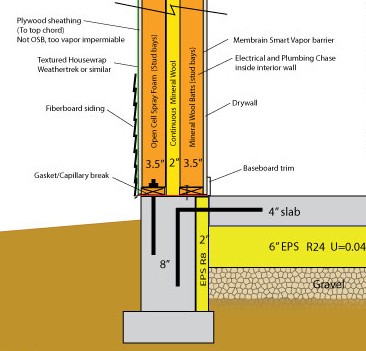
Step one was to dig out the foundation frost walls, which had to be 3′ below grade so that they were below the frost line. Once the frost walls were formed and poured, the next step was pouring the slab. I had designed the slab so it was insulated with 2” of EPS along the perimeter and 6” underneath. I would have preferred more insulation at the perimeter, but since I didn’t want to leave the EPS exposed on the interior, that was all the room I had to work with, even with 9″ thick walls.
Finding “small” quantities of high density (Type II or greater) EPS insulation rated for subslab uses is not easy, when you live in warm, sunny San Diego, for the simple fact that nobody insulates slabs out here. But eventually I found a distributor which delivered to Big Bear. I used Type II EPS, with a compressive strength of 8.8 psi at 1% deflection. The slab resting on the EPS weights about 0.35 psi so there is a comfortable margin there.
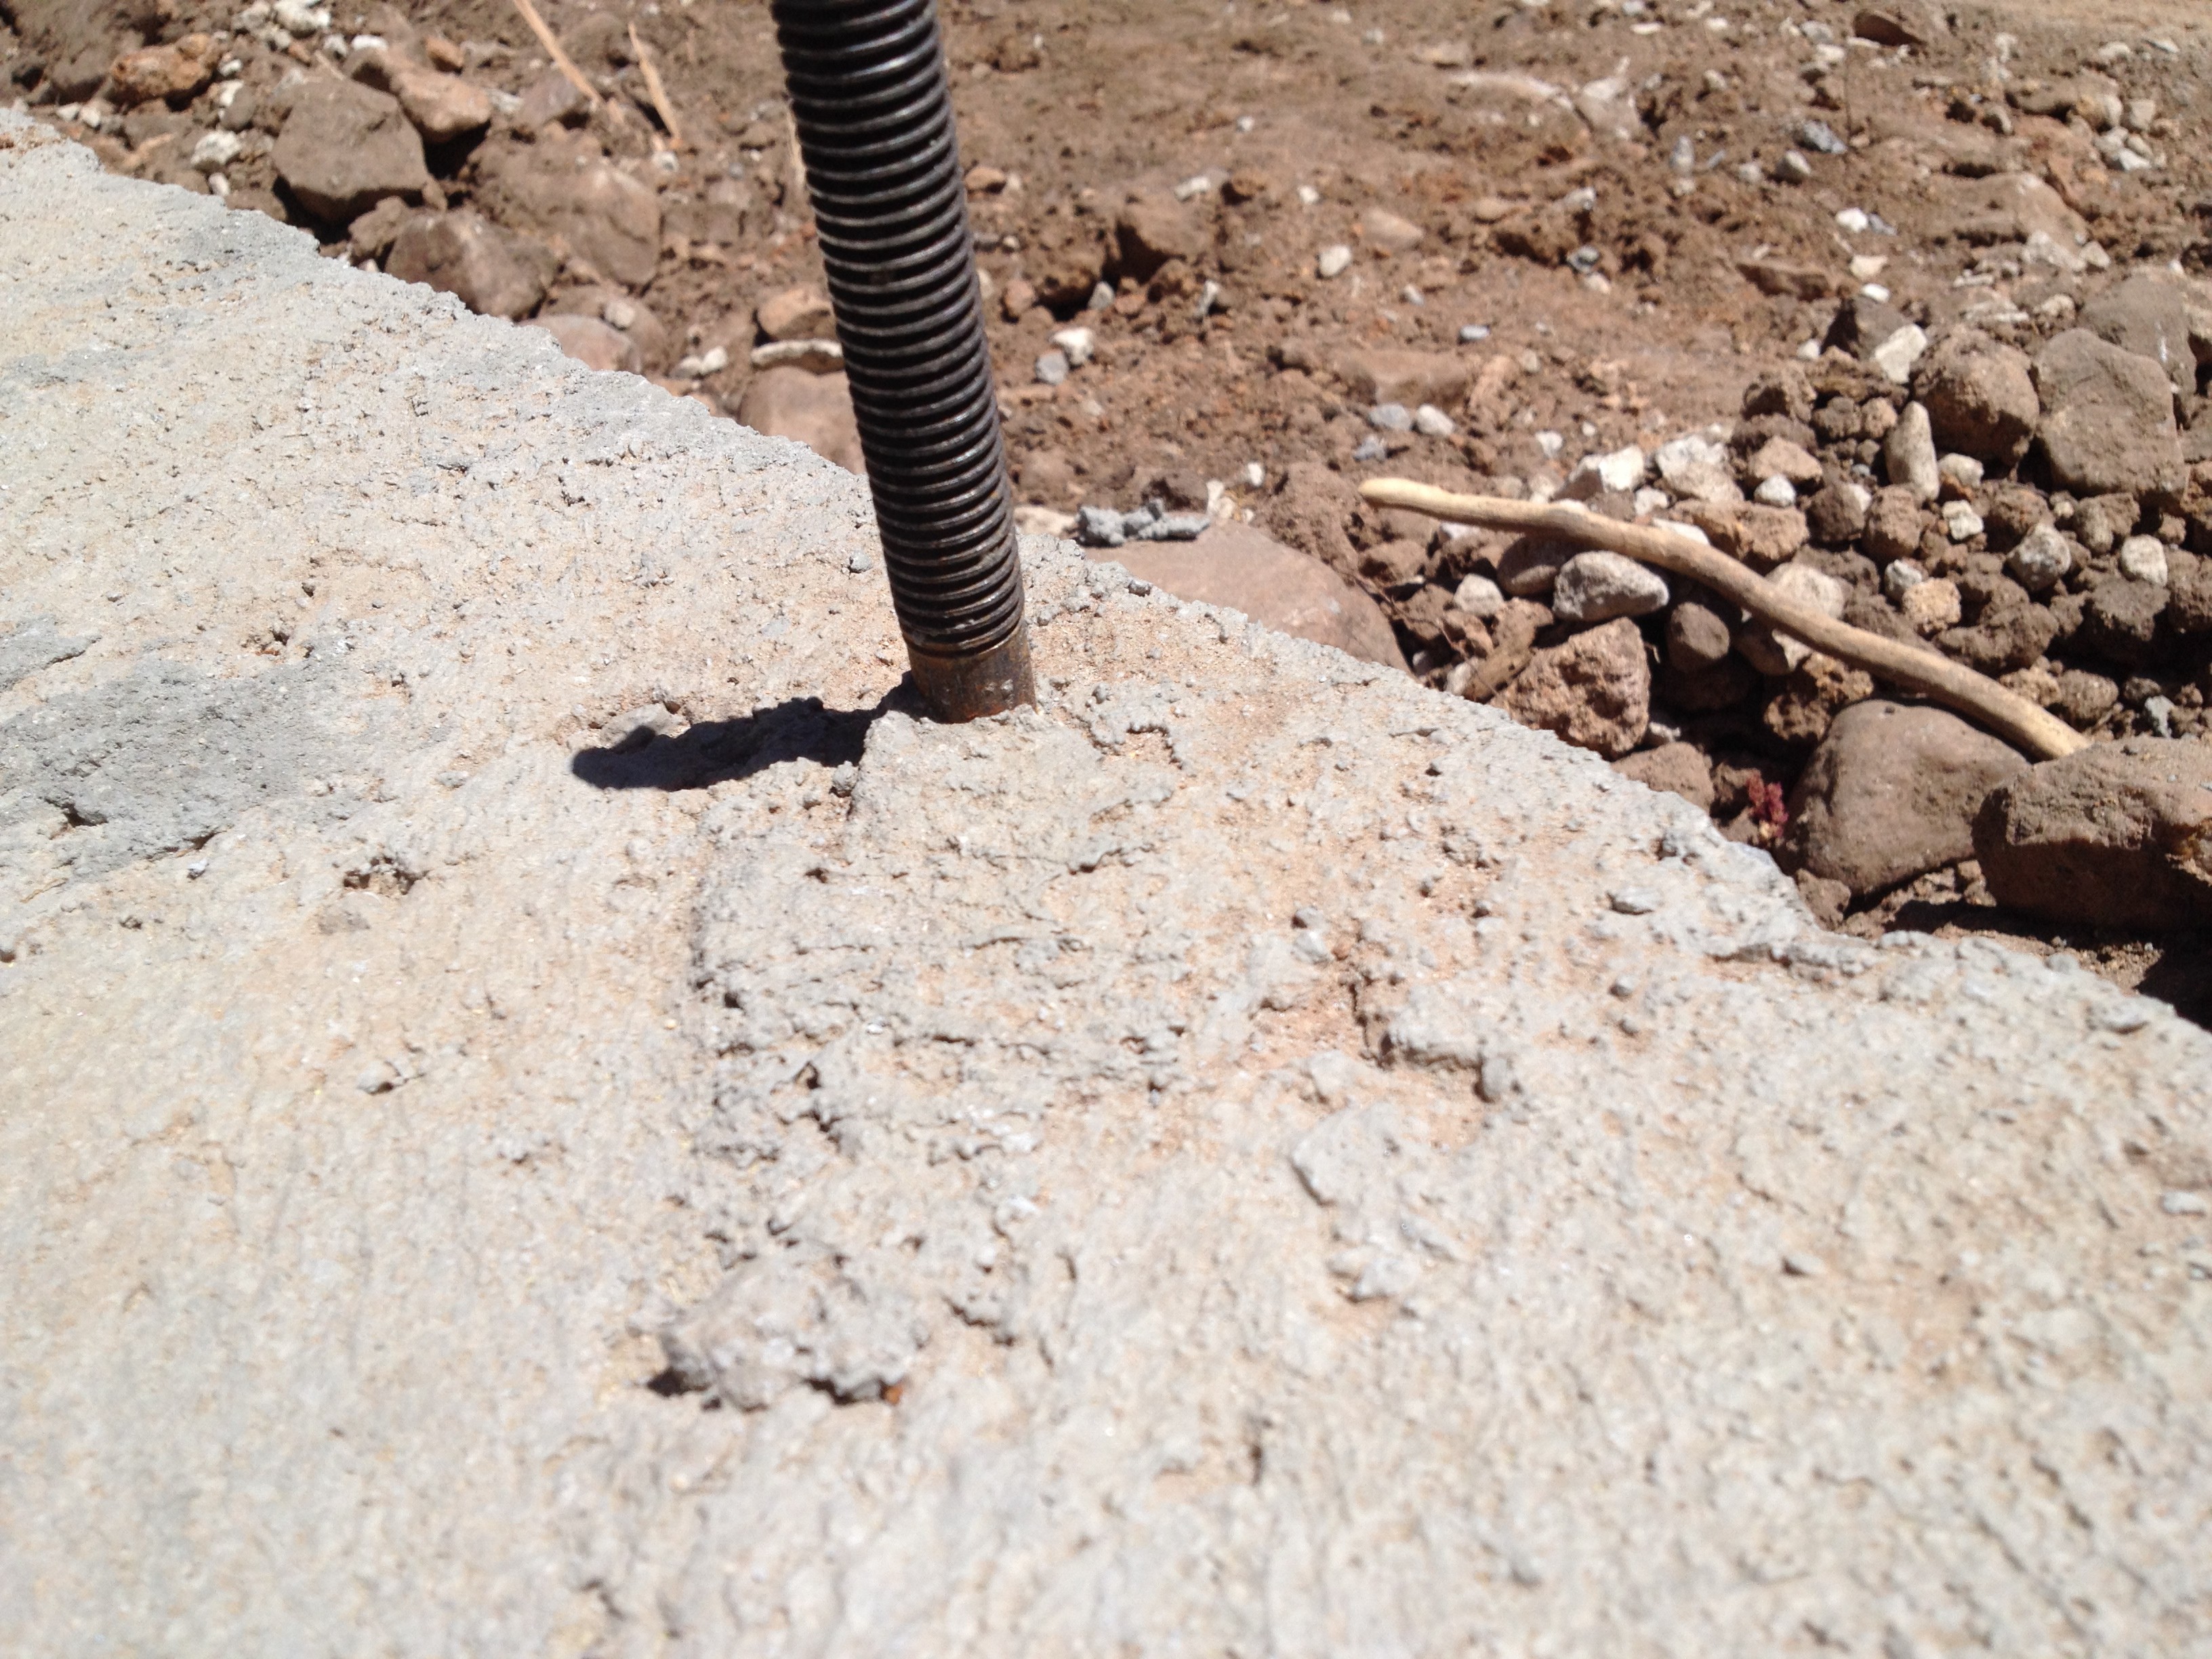
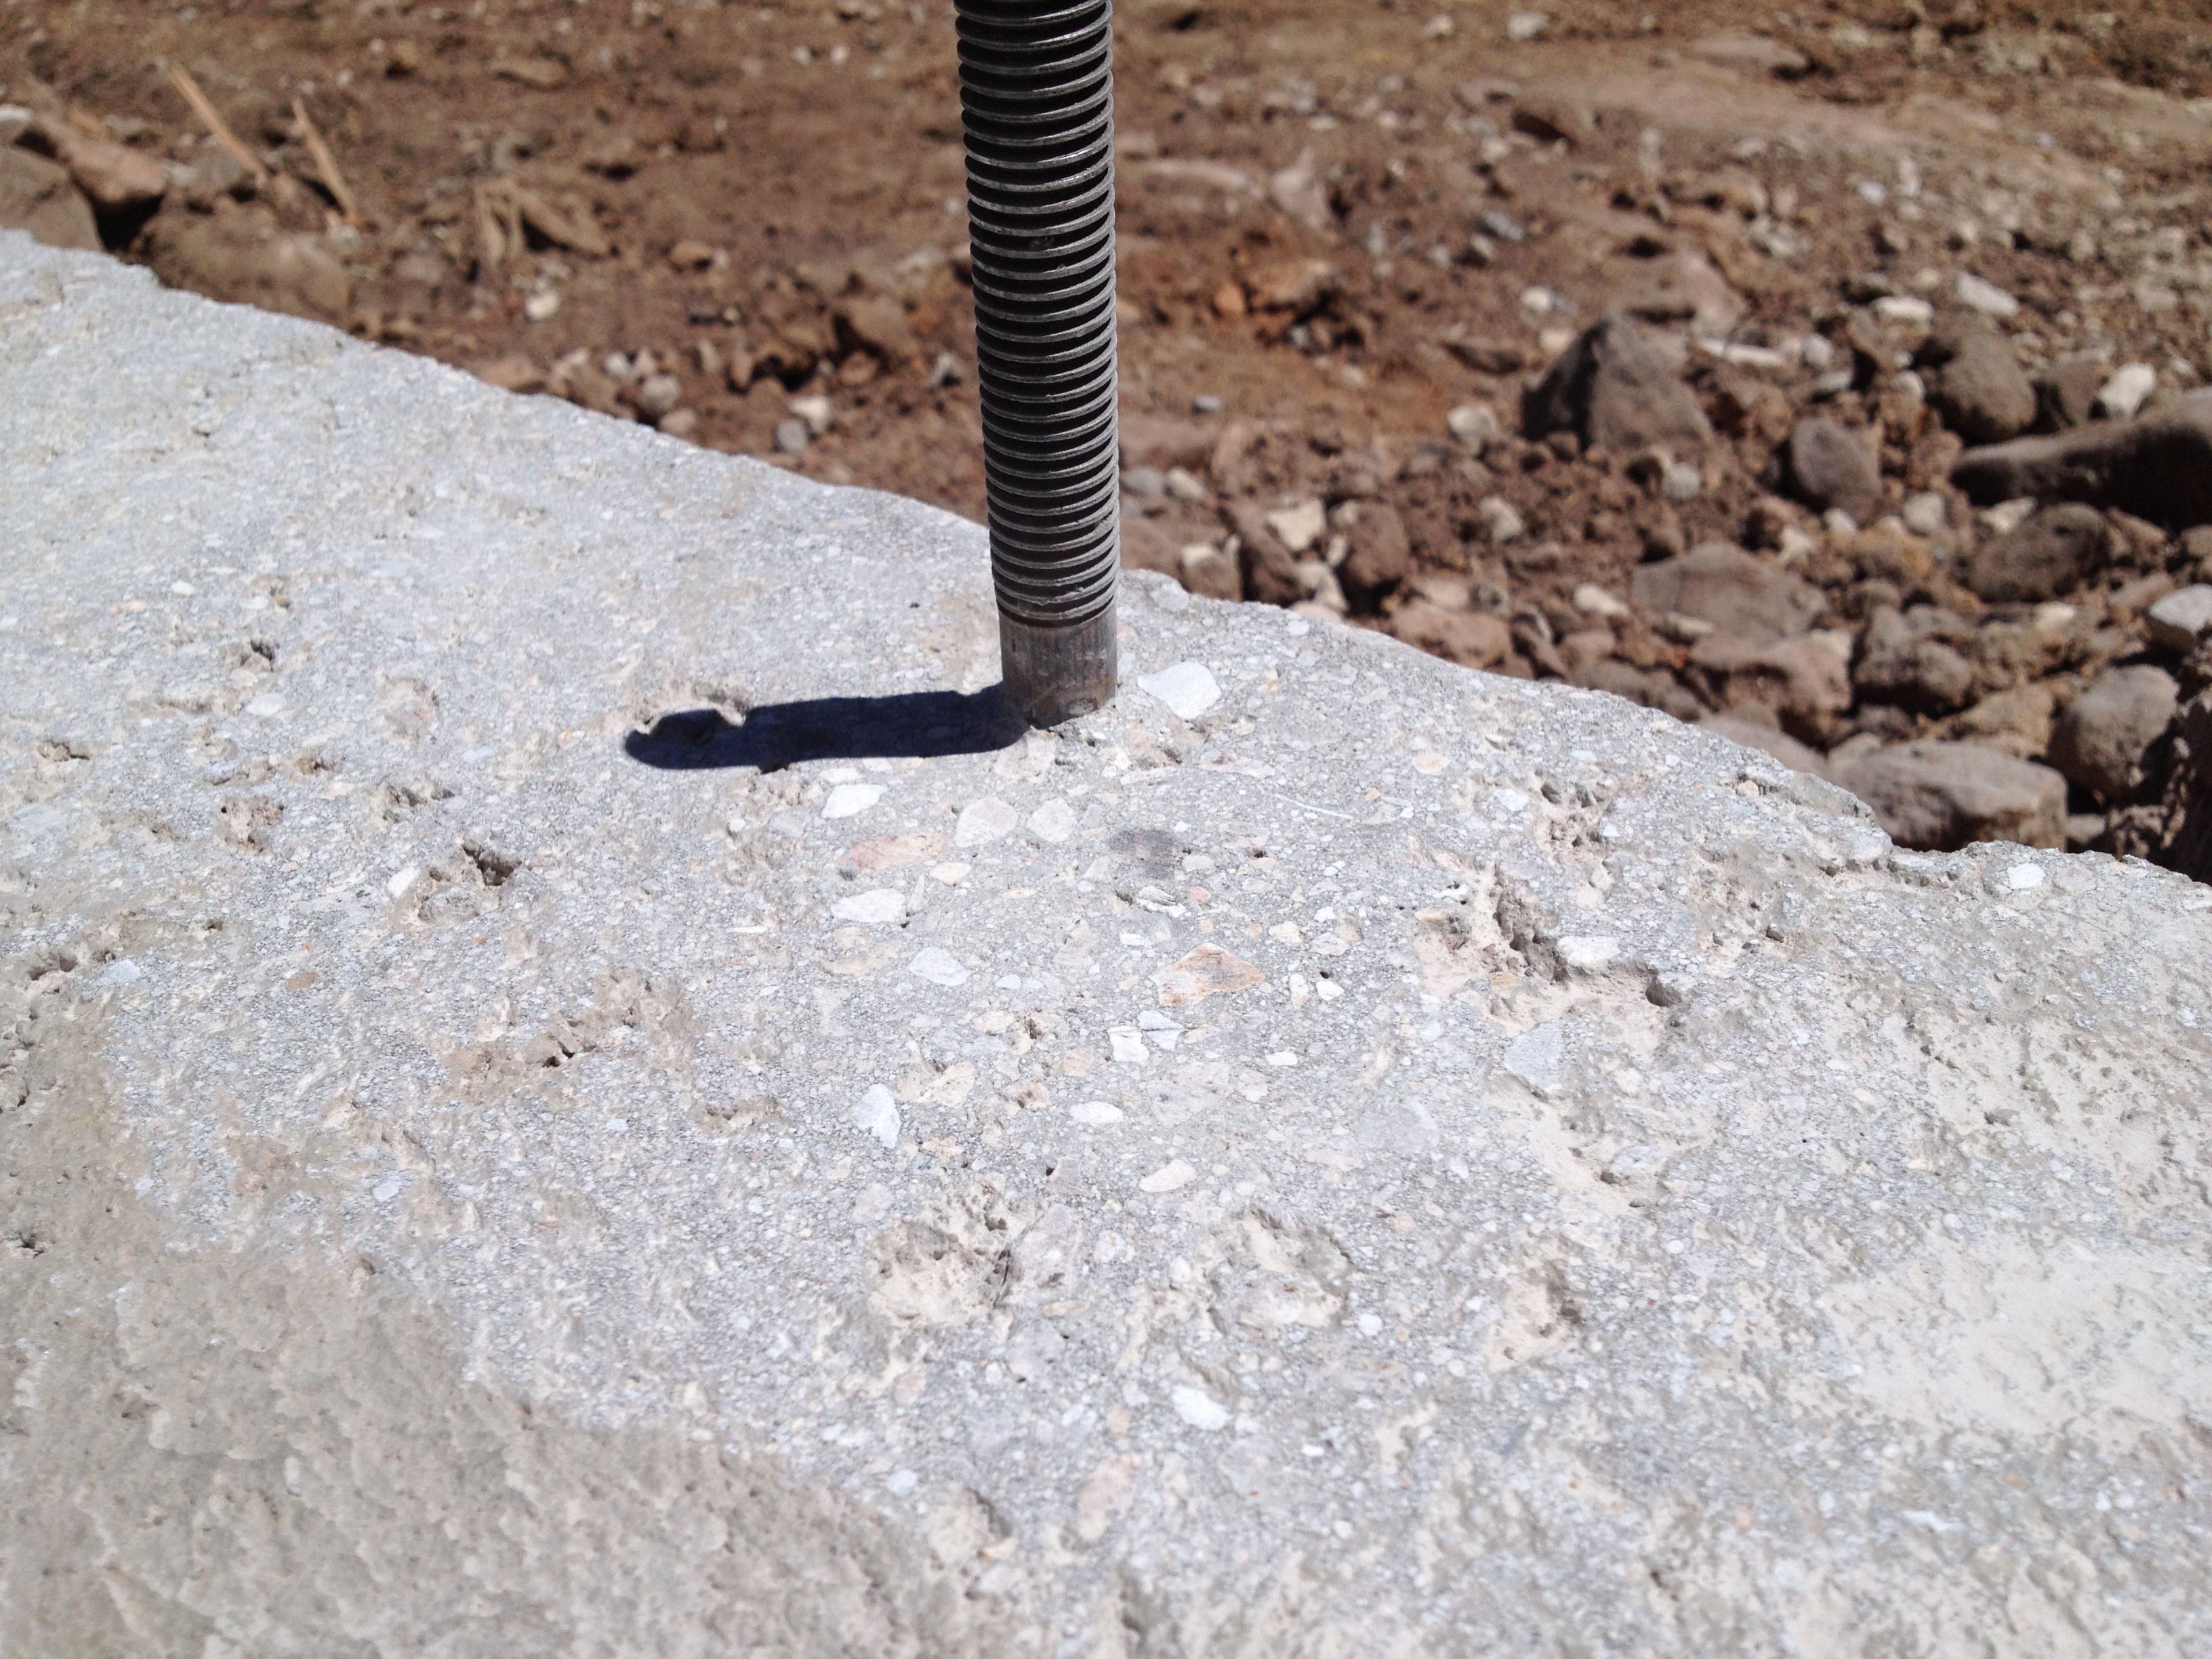
Although my plans called for optional rebar pinning the slab to the frost walls, my inspector required it because of the clay content in the soil. And although structurally it was the right call, I was worried about the rebar penetrating the EPS, and short circuiting my continuous layer of insulation.
However, it wasn’t as big a deal as I had feared. EPS has an R-Value of R4 per inch at 7 degrees F, which is the Manual J design temp for Big Bear. Because the slab is only 4” thick, the total surface area of the perimeter EPS is only 50 sq ft. So with a U value of 0.13 and a delta T of 60 degrees F (67 – 7), the EPS would lose 375 BTU per hour. The 1/2” rebar penetrates the insulation 98 times, but each cylindrical bar has a surface area of only 0.75 sq in, so the total surface area for all the bars is only 0.5 sq feet. But since the R value of steel is 0.0381, I’d still lose 417 but/hr through the steel, so it cuts the performance of my perimeter slab insulation in half. However, the steel and EPS combo still outperforms plain concrete by a factor of 15.
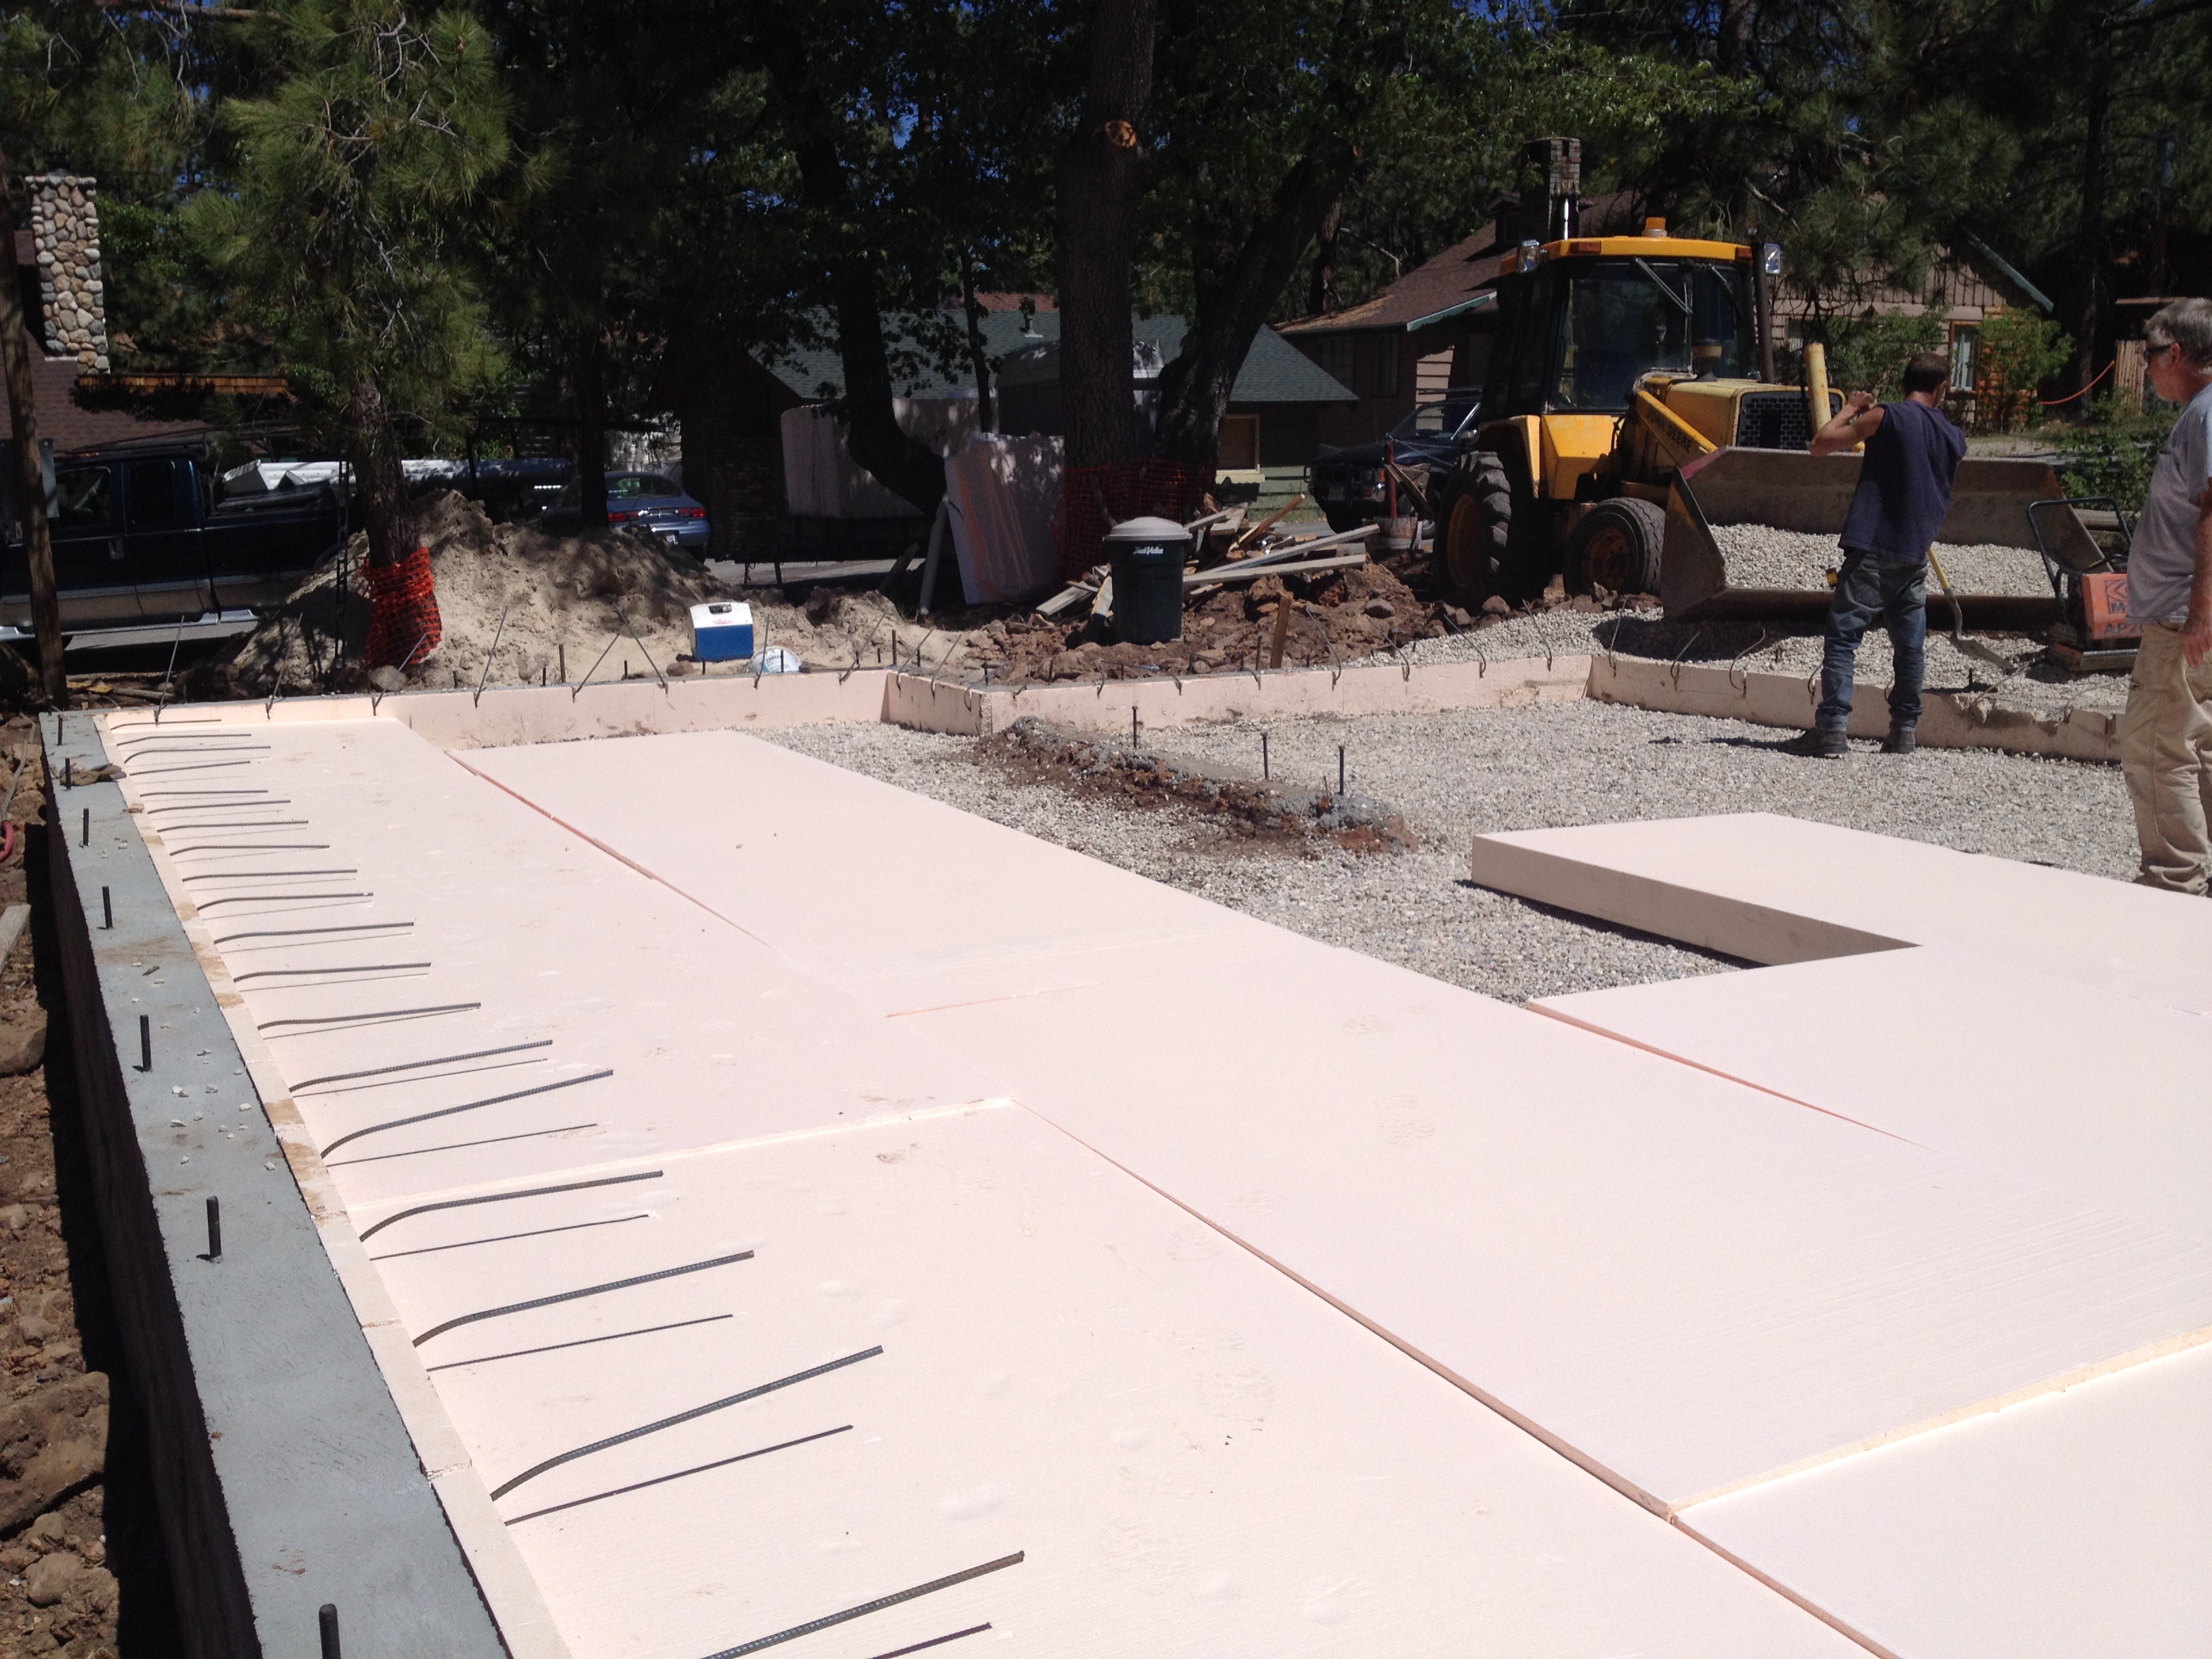 First the perimeter 2” insulation was installed on the inside of the frost walls, to a depth of 24″. Then the pad was compacted, and 2” of crushed gravel was applied. The 6” thick 4’x8′ EPS panels were installed in a brick pattern. Holes around plumbing penetrations were sealed with spray foam. Then a sheet of poly was spread over the EPS before the slab rebar was attached to the frost wall rebar, and finally the concrete was poured into what amounted to a giant EPS form.
Air Sealing
I found the tops of the frost walls to be pretty rough, and even though I was planning on using a sill gasket from Conservation Technologies, I decided to use an angle grinder to smooth and flatten the concrete under my sill plates as much as possible.